Knowledge Base
How to Set Up AI Segmentation in GPTWeb
GPTWeb's AI Segmentation Engine is one of its most powerful features — it automatically groups visitors by conversational intent, natural language signals, and static lists, so your campaigns and outreach always reach the right people. Here's how to set it up step by step.
Setting Up AI Segmentation — Step by Step
| # | Step | Why | Where |
|---|---|---|---|
| 1 | Open Admin Panel with Cmd+Ctrl+A (Mac) or Ctrl+Alt+A (Windows/Linux) | All segmentation controls live here | Keyboard shortcut on your live GPTWeb site |
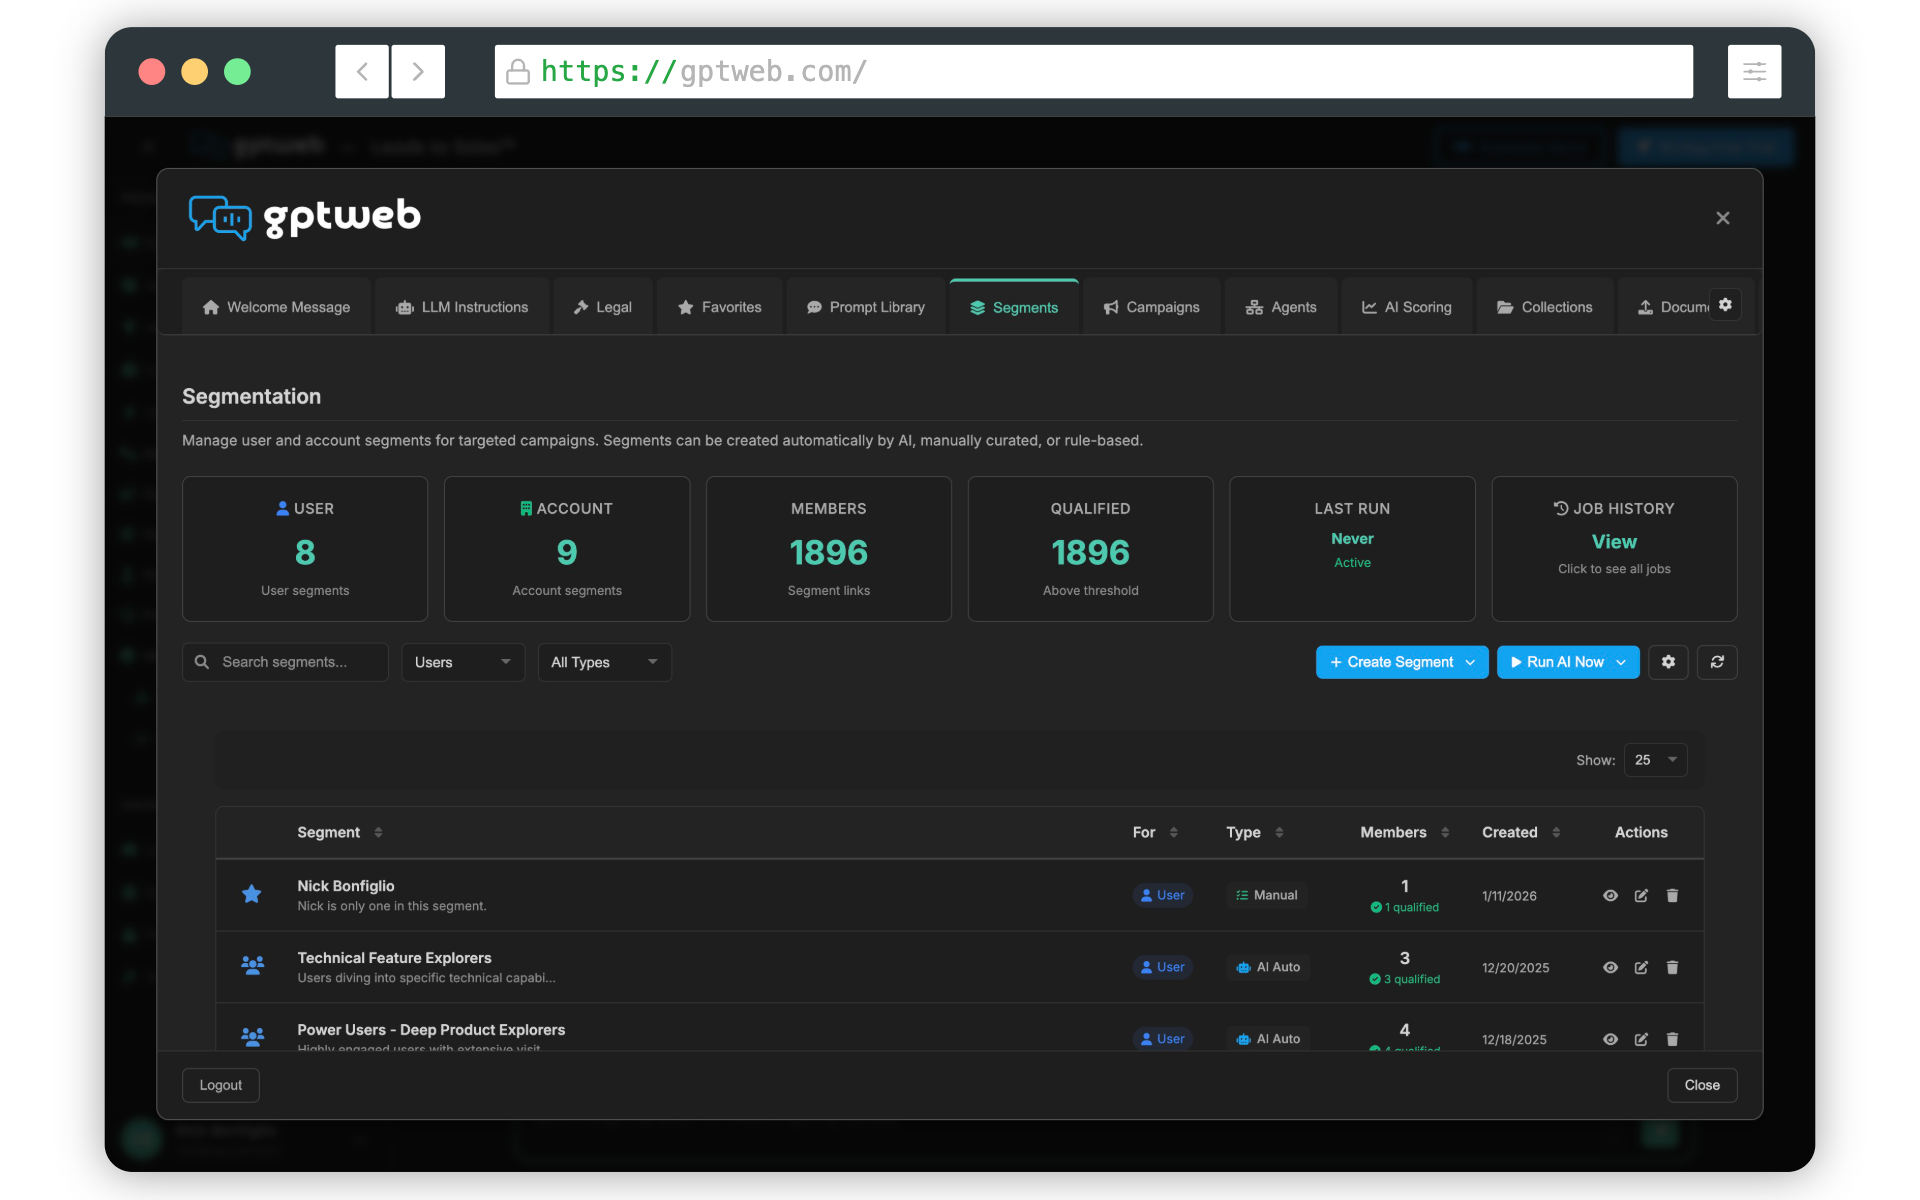
| 2 | Click the Segments tab in the left-hand menu | This is where all segments are created and managed | Admin Panel → Segments tab |
| 3 | Click + Create Segment and give it a clear, descriptive name (e.g. 'High Intent Buyers') | A clear name helps when assigning segments to campaigns later | Segments tab → + Create Segment |
| 4 | Choose your Segment Type: AI (conversational intent) or Static (manual list) | AI segments update automatically based on visitor behavior — Static segments are manually managed lists | Segment Editor → Segment Type selector |
| 5 | For AI Segments: write a natural language description of who belongs in this segment | GPTWeb's LLM reads visitor conversations and automatically assigns matching visitors — be specific | Segment Editor → AI Description field |
| 6 | For Static Segments: upload a CSV or manually add visitor emails to the list | Useful for known contacts like CRM imports, event attendees, or existing customers | Segment Editor → Static List uploader |
| 7 | Set Segment Status to Active and click Save Segment | Inactive segments are not evaluated — must be Active to assign visitors automatically | Segment Editor → Save Segment button |
| 8 | Go to Campaigns tab and open any existing campaign or create a new one | Segments become powerful when paired with targeted campaigns | Admin Panel → Campaigns tab |
| 9 | In the Targeting tab of the Campaign Editor, select your new Segment under Targeting Mode | This ensures only visitors matching your segment criteria see the campaign | Campaign Editor → Targeting tab → Segment selector |
| 10 | Save your campaign and visit your live site to verify segment-targeted behavior | Test with a visitor profile that matches your segment criteria to confirm correct assignment | gptweb.com/site/your-company-slug |
AI + Static
Segment Types
Real-Time AI
Assignment Method
Multiple
Segments per Campaign
~5 Min
Setup Time
Pro tip: Start with 2-3 AI segments based on your most common visitor intents — for example 'Pricing Interest', 'Technical Evaluator', and 'Ready to Buy'. GPTWeb reads every conversation and assigns visitors automatically. Pair each segment with a targeted Campaign for maximum impact. Need help? Reach us at support@gptweb.com or [](gptweb://modal/trial) to get started.
GPTWeb is the future of engagement, websites, and marketing automation combined — built for the AI era, built for now.